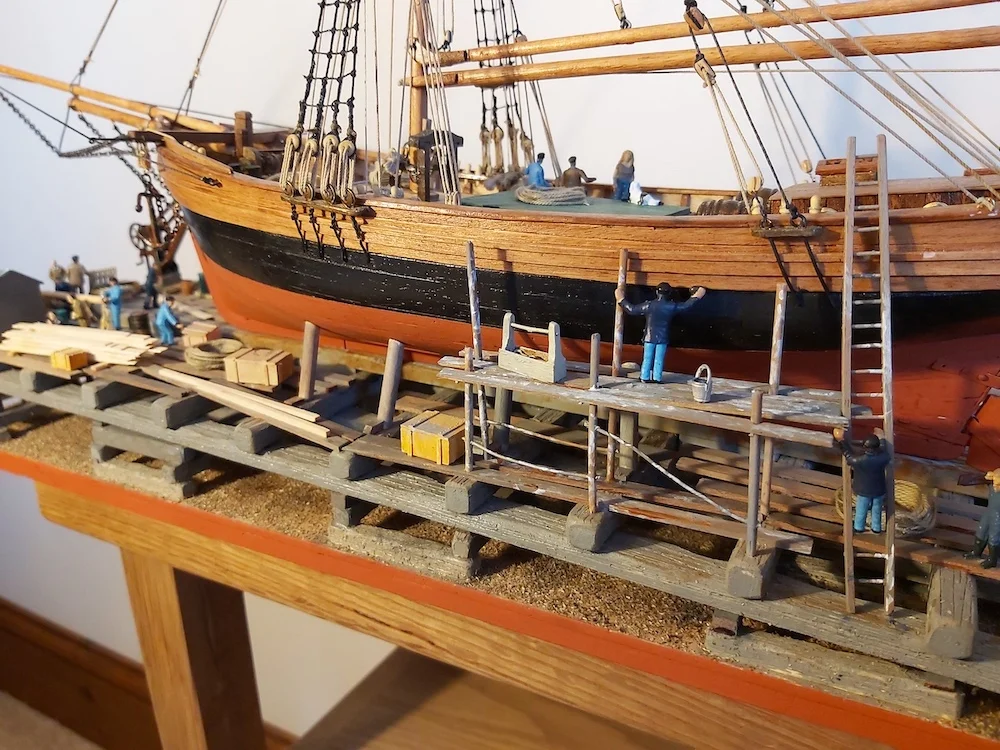
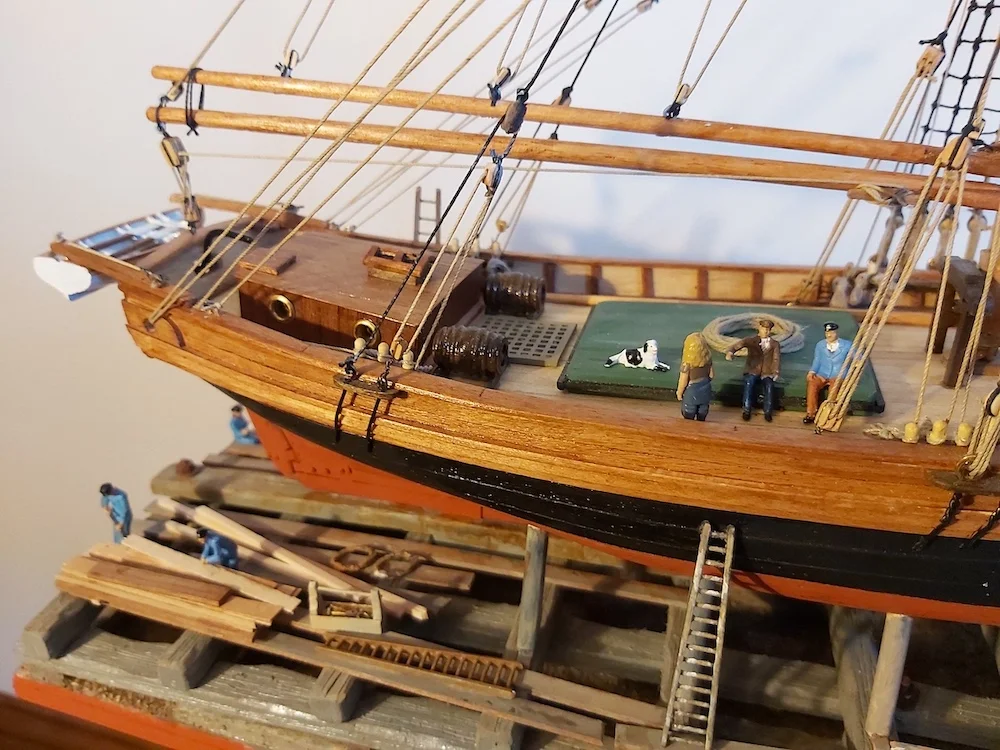
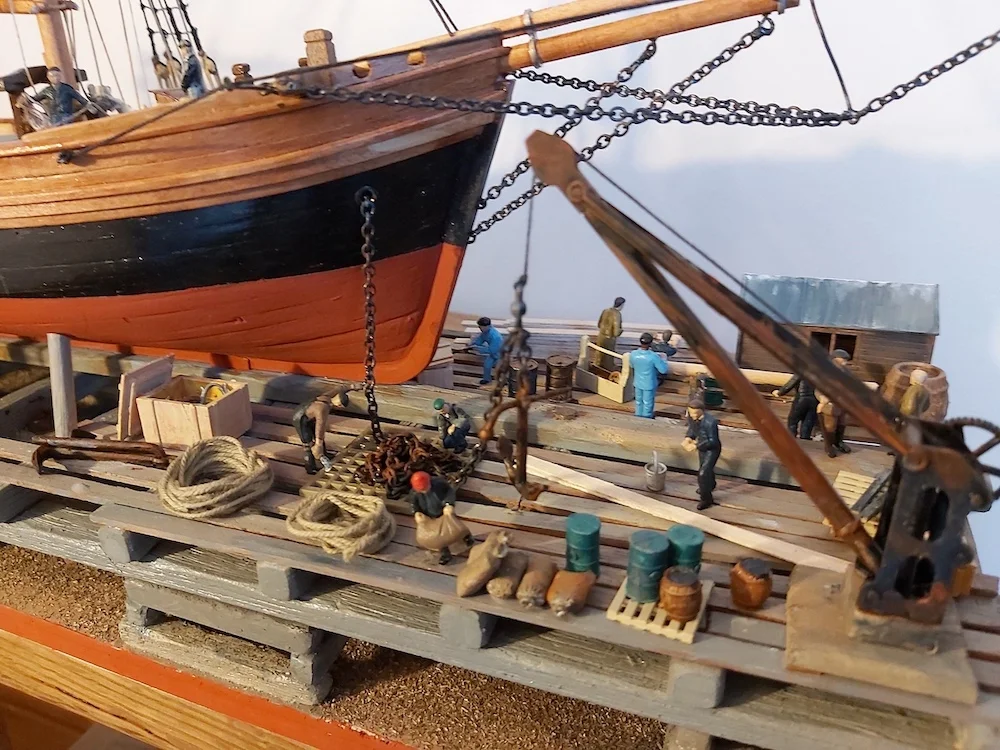
Gjøa ~ Hardanger Jekt on the Yard

During a visit to Oslo, Norway, I was able to spend a day at the wonderful museum in which is preserved the “Fram”, the famous polar exploration vessel belonging to Nansen, but which was used for Amundsen’s expedition to the Antarctic in 1912. This was the expedition in which Amundsen planted the Norwegian flag at the South Pole, ahead of the fateful expedition of Scott and his party.
Outside the Fram building, a smaller vessel is on display. This is “Gjøa”, and although small, has a story of her own to tell. “Gjøa” was built in 1872 in Rosendahl, Norway. She is of a type known as a “Hardanger Jekt”, a general purpose vessel plying in the area of the Hardangerfjord.
For my 70th birthday this year, my nieces gave me a kit for the vessel “Gjøa”. I was so pleased. I have been ship modelling for much of my life, and my most recent completion was the wool clipper “Torrens”. Using Underhill’s wonderful plans,and with assistance from his “Masting and Rigging the Clipper ship and Ocean Carrier” I was able to successfully modify a Sergal kit for the “Cutty Sark” resulting in a passable “Torrens”.
The “Gjøa” kit was by Constructo, a basic plank-on-bulkhead single-skin construction. Plans and materials were all up to a high standard, as was the well-illustrated instruction booklet. Construction was straightforward, although I would have preferred to have used thinner planking and a double skin. One change I made was to the deck structure. The kit contains a laser-cut deck from 3mm ply. This is fine, but the vessel has a fair spring to her sheerline, plus camber on the deck. A lot of force would be needed to get this unnecessarily thick deck unit located and secured. As the deck is subsequently planked with limewood strips, I decided to replace the ply substrata with cardboard, and this was completely adequate.
As with all my models, before planking I apply a modification to the keel structure. I like to display my ships on brass turned keel posts. I don’t like to see external cradle-type stands. To secure the vessel safely on keelposts, I drill vertically into the keel, then cutting slots to accommodate 6BA nuts which are tightly fitted into slots cut into the keel and glued. This allows 6BA screws to be inserted from beneath the baseboard to positively fasten the vessel down onto her keelposts and baseboard. This modification must be done, of course, before commencing the planking, as once planked, the nuts are inaccessible. The nuts were actually square mild steel 3mm by about 8mm square, tapped 6BA.
I actually decided early on to build the vessel as she appeared originally. Amundsen made a number of modifications which didn’t add to the ship’s appearance. When he added the engine, there was nowhere for a propeller, so an additional deadwood timber was added to the transom, with a propeller aperture. The rudder was hung on this false deadwood. This looks rather ugly, both in model form as well as in the real vessel, and I omitted it, converting her back to a pure sailing vessel.
My enthusiasm whetted, my next project will be another shipyard. Two slipways, a coastal schooner under construction, in frame. A fishing smack under repair on the second slipway. Lots of interesting shipyard activity including a pitsaw, steambox and a mast being stepped. Workshops located “under the arches”, and a row of low-relief terraced houses adjacent.


